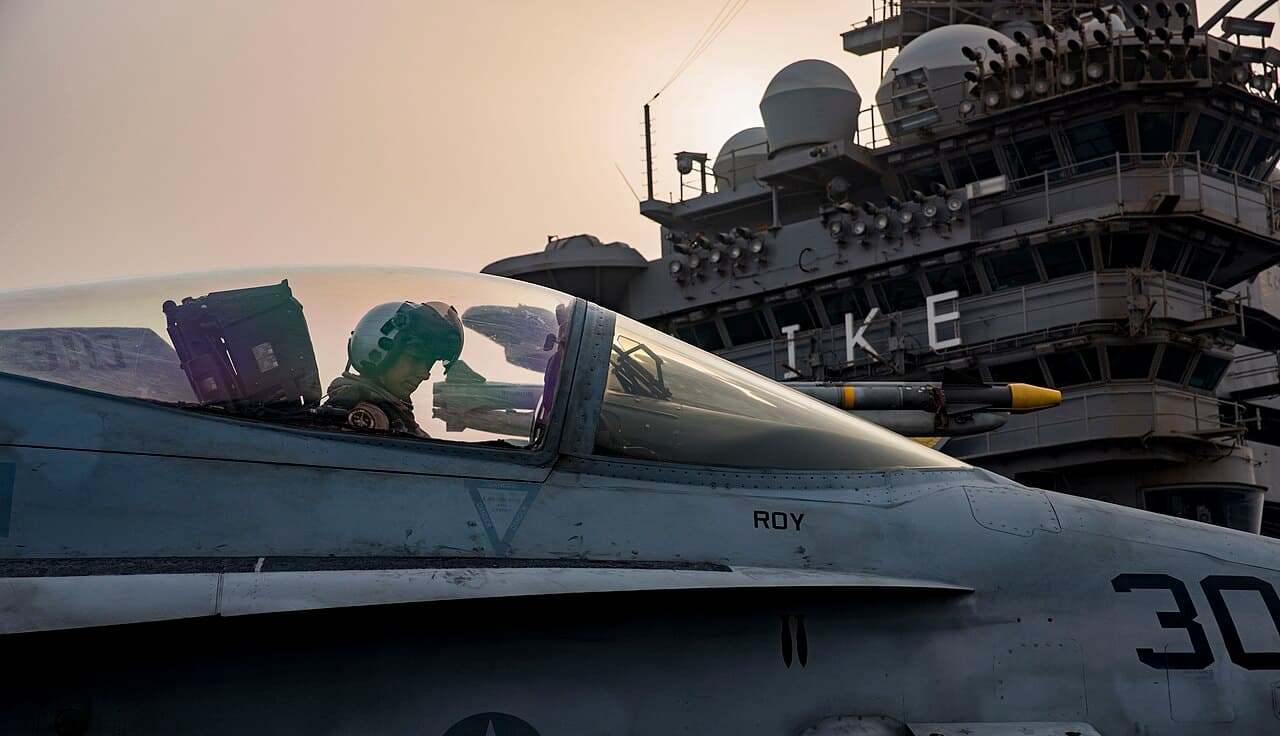
You are sitting in a dead Hornet on a carrier deck, wings folded, canopy open, and every cold start guide you can find teaches a runway start. Here is the delta in one line: everything is the same until the INS knob, which goes to CV instead of GND, and then you leave the parking brake alone for eight minutes.
That is genuinely most of it. A DCS F/A-18C carrier startup is not a separate procedure, because the Hornet's power-up sequence does not care what it is parked on. What changes is the alignment reference, a handful of deck-specific handles (wing fold, launch bar, hook), and the fact that a carrier deck has people on it who will not move until you talk to them. This page is the ordered flow with the carrier deltas called out where they actually happen, rather than bolted on at the end.
The short version
The seven things that change versus a runway start
- INS knob to CV, not GND. A ground alignment references waypoint 0, which is set at spawn and does not move. The deck under you does. This is the single most important switch difference between a field start and a deck start.
- The parking brake stays set through the whole alignment. It is a prerequisite for the align, not a courtesy. On a runway you would be releasing it and taxiing. Here you sit.
- You spawn with the wings folded and the canopy open. Cold deck spawns start shut down and folded, and multiplayer clients get folded wings too. Chocks are fitted on a cold ramp spawn.
- NWS HI behaves differently while the wings are folded. With the wing fold handle in FOLD or HOLD, the NWS button toggles NWS HI. With the handle in SPREAD, NWS HI is only live while you hold it. You will taxi the deck folded, so this catches people every single time.
- The launch bar goes DOWN, not up. Our checklist's Before Takeoff phase carries "Launch Bar - UP (shore takeoff)" at step 50 because that is the field case. A carrier takeoff inverts it at the catapult.
- There are deck crew, and they need a salute. Chocks come off after the salute, not before. The fully animated crew are a Supercarrier module feature, which changes what you get out of the free Stennis.
- Trim and flaps are set for a shot, not a roll. Flaps HALF, then the T/O TRIM button, which trims the stabilators to +12 degrees and zeroes everything else.
The hook is the other carrier-flagged step in our file ("Hook - DOWN (carrier only)", step 90), but that one belongs to the recovery, not the launch.
How long this actually takes
- Roughly 10 to 12 minutes fully manual. The 8-minute normal alignment dominates the number; everything else runs in parallel with it if you sequence it properly.
- About 2 to 3 minutes with a stored heading alignment, which takes around 90 seconds on its own.
- Around five minutes with auto-start (LWin + Home). It is slower than people expect, it works the switches at its own pace, and it still hands you a jet with items outstanding and the whole deck procedure left to you.
If you are new to the Hornet in general and still deciding whether it is the module for you, the DCS module buying guide covers where it sits against the alternatives. This page assumes you already own it and are late for a launch window.
What you are sitting in when the mission loads
Deck spawn state
A cold "takeoff from ramp" spawn on a carrier puts you in a shut-down jet with wings folded, canopy open, and wheel chocks fitted. Nothing is powered. If you are a client in multiplayer, expect folded wings even when the mission author was not thinking about it.
The folded wings are not cosmetic. They change your NWS behaviour (see above), they are why you can be parked in a spot you could never taxi out of spread, and spreading them is a step you have to consciously insert into your flow because a field start never contains it.
Supercarrier module versus the free carrier
The free carriers work. You can start, taxi, hook up and launch without spending anything. What the paid Supercarrier module adds is the theatre around it: fully pathed and animated deck crew supporting launches from all four catapults including attachment of the holdback bar, animated jet blast deflectors, working elevators, IFLOLS with rabbit lights, Case I/II/III comms with dedicated voiceovers for marshal, approach, tower and LSO, and a playable LSO station with the PLAT camera. Ship skins cover CVN-71 through CVN-75.
The honest read: if you never intend to fly the pattern properly, the free deck launches you just fine. If deck operations are the reason you bought a carrier jet, the crew and the IFLOLS are the module. Everything procedural on this page works either way, but the salute-and-chocks part of it is where you will feel the difference.
Power on the jet
Nine steps, and none of them are carrier-specific. This is the Electrical phase from our F/A-18C startup flow, which runs 130 steps across 14 phases if you want the whole thing tappable on a second screen.
Battery, fire test, APU
- Battery Switch - ON.
- External Power - CONNECT (if available). Saves the battery during the alignment you are about to sit through.
- Fire Test A and B - TEST, verify audio warnings. Hold each position and check for the FIRE caution messages.
- APU Switch - ON. Wait for the green APU READY lamp before you touch anything else. Roughly 30 seconds. This is a caution in our checklist for a reason.
- APU Generator - ON.
Displays before alignment
- Right DDI - ON, check the BIT page.
- Left DDI - ON.
- AMPCD - ON.
- HUD brightness - SET.
You want the DDIs and the AMPCD alive before you touch the INS knob, because the alignment status you are about to watch lives on the HSI page. Starting the align and then hunting for a display to read it on is how people convince themselves the alignment is broken.
Start the engines
Right engine first
ENG CRANK to R. Watch the IFEI. When RPM reaches 25 percent or higher, bring the right throttle from OFF to IDLE.
ENG CRANK is a three-position switch, L - OFF - R. You are selecting a position, not holding a button down, which is worth saying because a lot of Hornet material writes this step as "press and hold".
The 25 percent number is the whole game. Advancing the throttle early is the classic hot start, and our checklist carries it as a caution: advance only after 25 percent. What a good start looks like is RPM climbing steadily while EGT rises and then settles. Stable ground idle is 63 to 70 percent RPM, EGT in the 190 to 590 degrees C band, and fuel flow between 420 and 900 pph on the IFEI. Those are also the numbers to confirm on the right engine before you crank the left one, along with a nozzle position of 73 to 84 percent and oil pressure of 45 to 110 psi.
If EGT is climbing fast and heading for the top of the gauge rather than settling into that band, abort the start. We are deliberately not publishing a single abort temperature here: the numbers floating around the community for the F/A-18C do not agree with each other, and "the needle is running away" is the reliable cue anyway.
Left engine, bleed, generators
Repeat for the left: ENG CRANK to L, throttle to IDLE at 25 percent. Then APU - OFF once both engines are stable, and External Power - DISCONNECT.
Post-start, both generator switches ON and Bleed Air to NORM once RPM is above 60 percent.
That 60 percent figure is worth remembering for a second reason: the left engine must be above 60 percent RPM before the INS alignment will run. Together with a set parking brake, that is the entire prerequisite list. If your align is not starting, check those two things before you check anything else.
The carrier alignment
This is the part that separates a deck start from a field start, and it is where most of the bad advice lives.
CV, not GND
The INS rotary has OFF, CV, GND, NAV, IFA, GYRO, TEST and GB. Two matter right now:
- GND is a ground alignment. It uses waypoint 0 as its reference position, auto-set at spawn.
- CV is the carrier alignment, which is what the "CV" stands for.
Waypoint 0 is a fixed point on the map. Your jet is on a ship that is making way. Align to a stationary reference from a moving platform and you are teaching the INS a lie. That is why step 10 of our F/A-18C flow reads "GND ashore / CV on a carrier" rather than picking one. Everything after it is unchanged: monitor the alignment, then move the knob to NAV or IFA when it finishes.
Reading the align
The HSI tells you where you are, in three stages:
- NO ATT while the system warms up and levels. Nothing to do but wait.
- A number starting at 99, counting down. This is the alignment quality figure improving, not a timer.
- "0.5 OK" - alignment complete. Move the knob to NAV or IFA and you are navigating.
A normal alignment takes 8 minutes. Use them: that is your entire post-start systems flow, done for free while the jet is doing something you cannot rush.
One correction worth making explicitly, because it is everywhere: the Hornet does not show an alignment "quality 10". If a guide tells you to wait for one, it has leaked an F-16 convention into Hornet material. Watch for the countdown to 0.5 OK instead.
CV RF versus CV CBL
Carrier alignment can take its reference two ways, and DCS models both. The jet first attempts a CV RF alignment over the datalink, and falls back to CV CBL, the cable correction, when RF is not available.
The practical consequence: Link 4 needs to be enabled and tuned before you start the alignment. If it is not, you sit through a roughly 20-second RF timeout before the system gives up and drops to cable. Twenty seconds is not a disaster, but if you started the align and nothing appears to be happening, that is usually what you are watching.
CV MAN is not implemented. If a guide tells you to hand-enter the ship's position, it predates the current state of the module.
Stored heading, and when to use it
Stored heading alignment takes about 90 seconds and is selected via the STDHDG option on the HSI option row.
It is not cheating. It models a jet that has not moved since its last good alignment, which is exactly the situation a jet parked on a deck between sorties is in. Use it when you are joining a running multiplayer server, when the mission gives you a launch window you cannot make with an 8-minute clock, or when you have already flown the full sequence and are practising something else. Use the full 8 minutes when the alignment itself is the thing you are learning, or when you want your navigation solution to be as good as the airframe can make it.
The parking brake trap
Leave the parking brake set until the alignment completes. Release it before the align finishes and the alignment goes invalid, which means starting the eight minutes over.
This is a trap specifically because the flow feels like it wants you to move. On a runway start you release the brake and taxi while the systems settle. Here, the brake release in our checklist (step 39, and again at step 41 entering taxi) comes after the align, not during it. Sit still.
Post-start systems, deck edition
Do all of this while the alignment runs.
Flight controls
- FCS Reset - PRESS. Resets the flight control system after power-up.
- FCS BIT - RUN, verify no faults. Flaps go AUTO during the BIT, so set them for takeoff afterwards, not before.
- Flaps - HALF.
- Trim - press the T/O TRIM button. It trims the stabilators to +12 degrees and zeroes all other trim axes.
You will find tables online that assign a different stabilator trim setting to each gross weight bracket. We are not reproducing one, because the sourcing for those numbers is a single machine-translated guide and it disagrees with the documented behaviour of the button. Press T/O TRIM. If you are heavy and configured, expect to want more nose-up authority off the bow and be ready on the stick, rather than dialling in a number somebody made up.
Sensors, defensive, navigation
- Radar - OPR (on the right DDI, allow warm-up).
- RWR - ON.
- CMDS - ON, set your program.
- IFF - SET, Mode 4 on.
- Radios - SET, TACAN - SET CHANNEL.
- ICLS - SET if the recovery could be Case II or III. ICLS is the boat's ILS, and it drives the needles you fly when you will not see the ship until the groove; a daylight Case I pattern does not use it. Our own checklist only raises ICLS at step 85, in Descent/Approach, which is the wrong end of a sortie to be hunting for a channel.
- OBOGS - ON.
Seat and canopy
- Flight controls - CYCLE AND CHECK. Full stick and rudder deflection, look at the surfaces.
- Ejection Seat - ARM. Make sure the canopy is clear first.
- Canopy - CLOSE AND LOCK.
- Anti-skid - ON, NWS - ON.
Taxi on a moving deck
Spread the wings behind the JBD
The wing fold handle: pull it out and rotate counterclockwise to FOLD, clockwise to SPREAD, then push the handle back in to lock once the wings are fully spread.
Timing matters more than mechanism. Spread once you are behind the jet blast deflector of the catapult you are going to use, not on the spot where you started. A spread Hornet on a packed deck is a Hornet that cannot get anywhere, and on Supercarrier you are sharing that deck with animated crew and other aircraft.
Which brings back the gotcha from the top: while that handle is in FOLD or HOLD, the NWS button toggles NWS HI rather than holding it. You will be taxiing folded, in high-gain nosewheel steering, on a surface with edges. Tap it once to get the tight turns you need to get out of the pack, and know it stayed on. Once the handle goes to SPREAD, the button reverts to press-and-hold.
Chocks, salute, and following the director
Salute with LCtrl + LShift + S, or through the radio menu on the backslash key. Chocks are pulled after the salute, and then the director takes you forward. This is the first of two salutes on a deck launch: this one gets the chocks out and you moving, the one at the catapult sends you.
From here you are being marshalled, not navigating. Follow the director's signals and keep your speed down. If you fly the F-14B Tomcat as well, the deck sequence itself is a carrier procedure rather than a Hornet one, so the shape of this section carries over even though the switches do not.
Hooking up and the cat shot
The hookup
- Wings spread, handle pushed in and locked - behind the JBD, as above, not back on your spot.
- Stop, hold the brakes, and extend the launch bar. This is the step our field checklist has as "Launch Bar - UP" at step 50, inverted.
- Taxi forward slowly, following the director, to put the launch bar over the shuttle. Expect to need real power to do it: as much as 80 to 85 percent RPM is normal, because you are dragging a bar across a deck and there is friction where you are not used to any.
- When the launch bar drops over the shuttle the jet stops as the holdback engages the catapult buffer.
That holdback exists for one reason: so you can run the engines to full afterburner while stationary. Nothing about the jet holds you there. A piece of hardware does.
Run up and salute
- Throttles to MIL. Check the engine instruments stabilise.
- Wipe the controls: stick in a full circle, then full forward and aft, then full left and right rudder, at military power. Our checklist carries the same caution at step 61 for the shore takeoff, and it is the same wipe.
- Select afterburner if your loadout and the wind over deck call for it. On a HOTAS, the lift-finger detent past MIL is the thing you want mapped properly before you find out on the cat; the HOTAS guide covers throttle detents in more detail.
- Salute. Then get your hand off the stick and onto the towel rack. The catapult, not you, is flying the jet for the next two seconds.
Wind over deck is worth thirty seconds of thought if you are building your own missions rather than joining someone else's: the air coming down the deck is the vector sum of the surface wind and the ship's own motion along its base recovery course, and the ship's course and speed are things the mission sets. Our crosswind calculator will resolve a given wind into headwind and crosswind components against a heading, which is the quick way to check whether the course you gave the carrier is actually putting the wind down the angle or across it.
Off the bow
The order off the bow is the same as steps 66 to 68 of our flow, and the first item is the one people get wrong:
- Do not fight the jet. T/O TRIM left the stabilators at +12 degrees and the Hornet flies itself off the bow. The instinct to haul back is the instinct that puts you in the water.
- Positive climb confirmed, then gear up, then flaps to AUTO.
- Watch the AoA. Heavy, slow and low is the whole hazard.
The full interactive checklist picks the flow back up at the After Takeoff phase from here.
The fast versions
Auto-start
LWin + Home runs the startup for you and hands you a jet with engines running and systems on. Budget around five minutes, not seconds: it works the sequence at close to human speed rather than snapping every switch at once, and it stops short of a fully takeoff-ready jet.
It is a systems power-up, not a deck procedure. Before you go anywhere, check three things yourself rather than assuming: the alignment state on the HSI, the wing fold handle, and the launch bar. Auto-start also skips the part that actually makes you a Hornet pilot, which is knowing why the sequence is ordered the way it is. Use it to get into a mission you have already flown properly. Do not use it as your only way in.
Hot and air starts
If the mission author gave you a hot start on the deck or an air start, take it when the sortie is the point and the startup is not. Nobody is scoring you.
Either way, our F/A-18C quick reference is the page to keep on the second monitor once you have the flow: speeds, settings and the numbers you actually reach for mid-mission, without scrolling through 130 steps to find them.
Common failures and how to diagnose them
The alignment never finishes
Work the prerequisites in order:
- Is the parking brake still set? If you released it and the jet moved, start over.
- Is the left engine above 60 percent RPM?
- Is the knob on CV and not GND? A GND align on a moving deck can look like it is progressing and still give you rubbish.
- Did you just start it? Give the CV RF datalink attempt its roughly 20 seconds to time out and fall back to cable before deciding anything is wrong.
The crew will not respond, or the chocks stay in
Salute again. Then try the radio menu on backslash rather than the keybind, or the other way round. Deck crew and chocks bugs surface periodically after DCS patches, so a repeat salute is a legitimate first move rather than a superstition. Also confirm you are actually on a mission with deck crew: the animated crew that handle chocks and the holdback bar are the Supercarrier module's contribution, and a free-carrier mission behaves differently.
The jet will not hook up to the shuttle
- Launch bar down? It is a switch, and it is easy to leave alone in the excitement.
- Enough power? 80 to 85 percent RPM to creep onto the shuttle is normal, and a lot of people are trying it at idle and concluding they are stuck.
- Wings spread and the handle pushed in and locked?
- Are you actually lined up on the shuttle? Follow the director rather than eyeballing it from a cockpit where you cannot see the nosewheel.
The Hornet's carrier start is not a different startup. It is the same startup with one knob moved, one brake left alone, and a deck procedure wrapped around it. Fly the field version until the switch order is automatic, then add the deck.