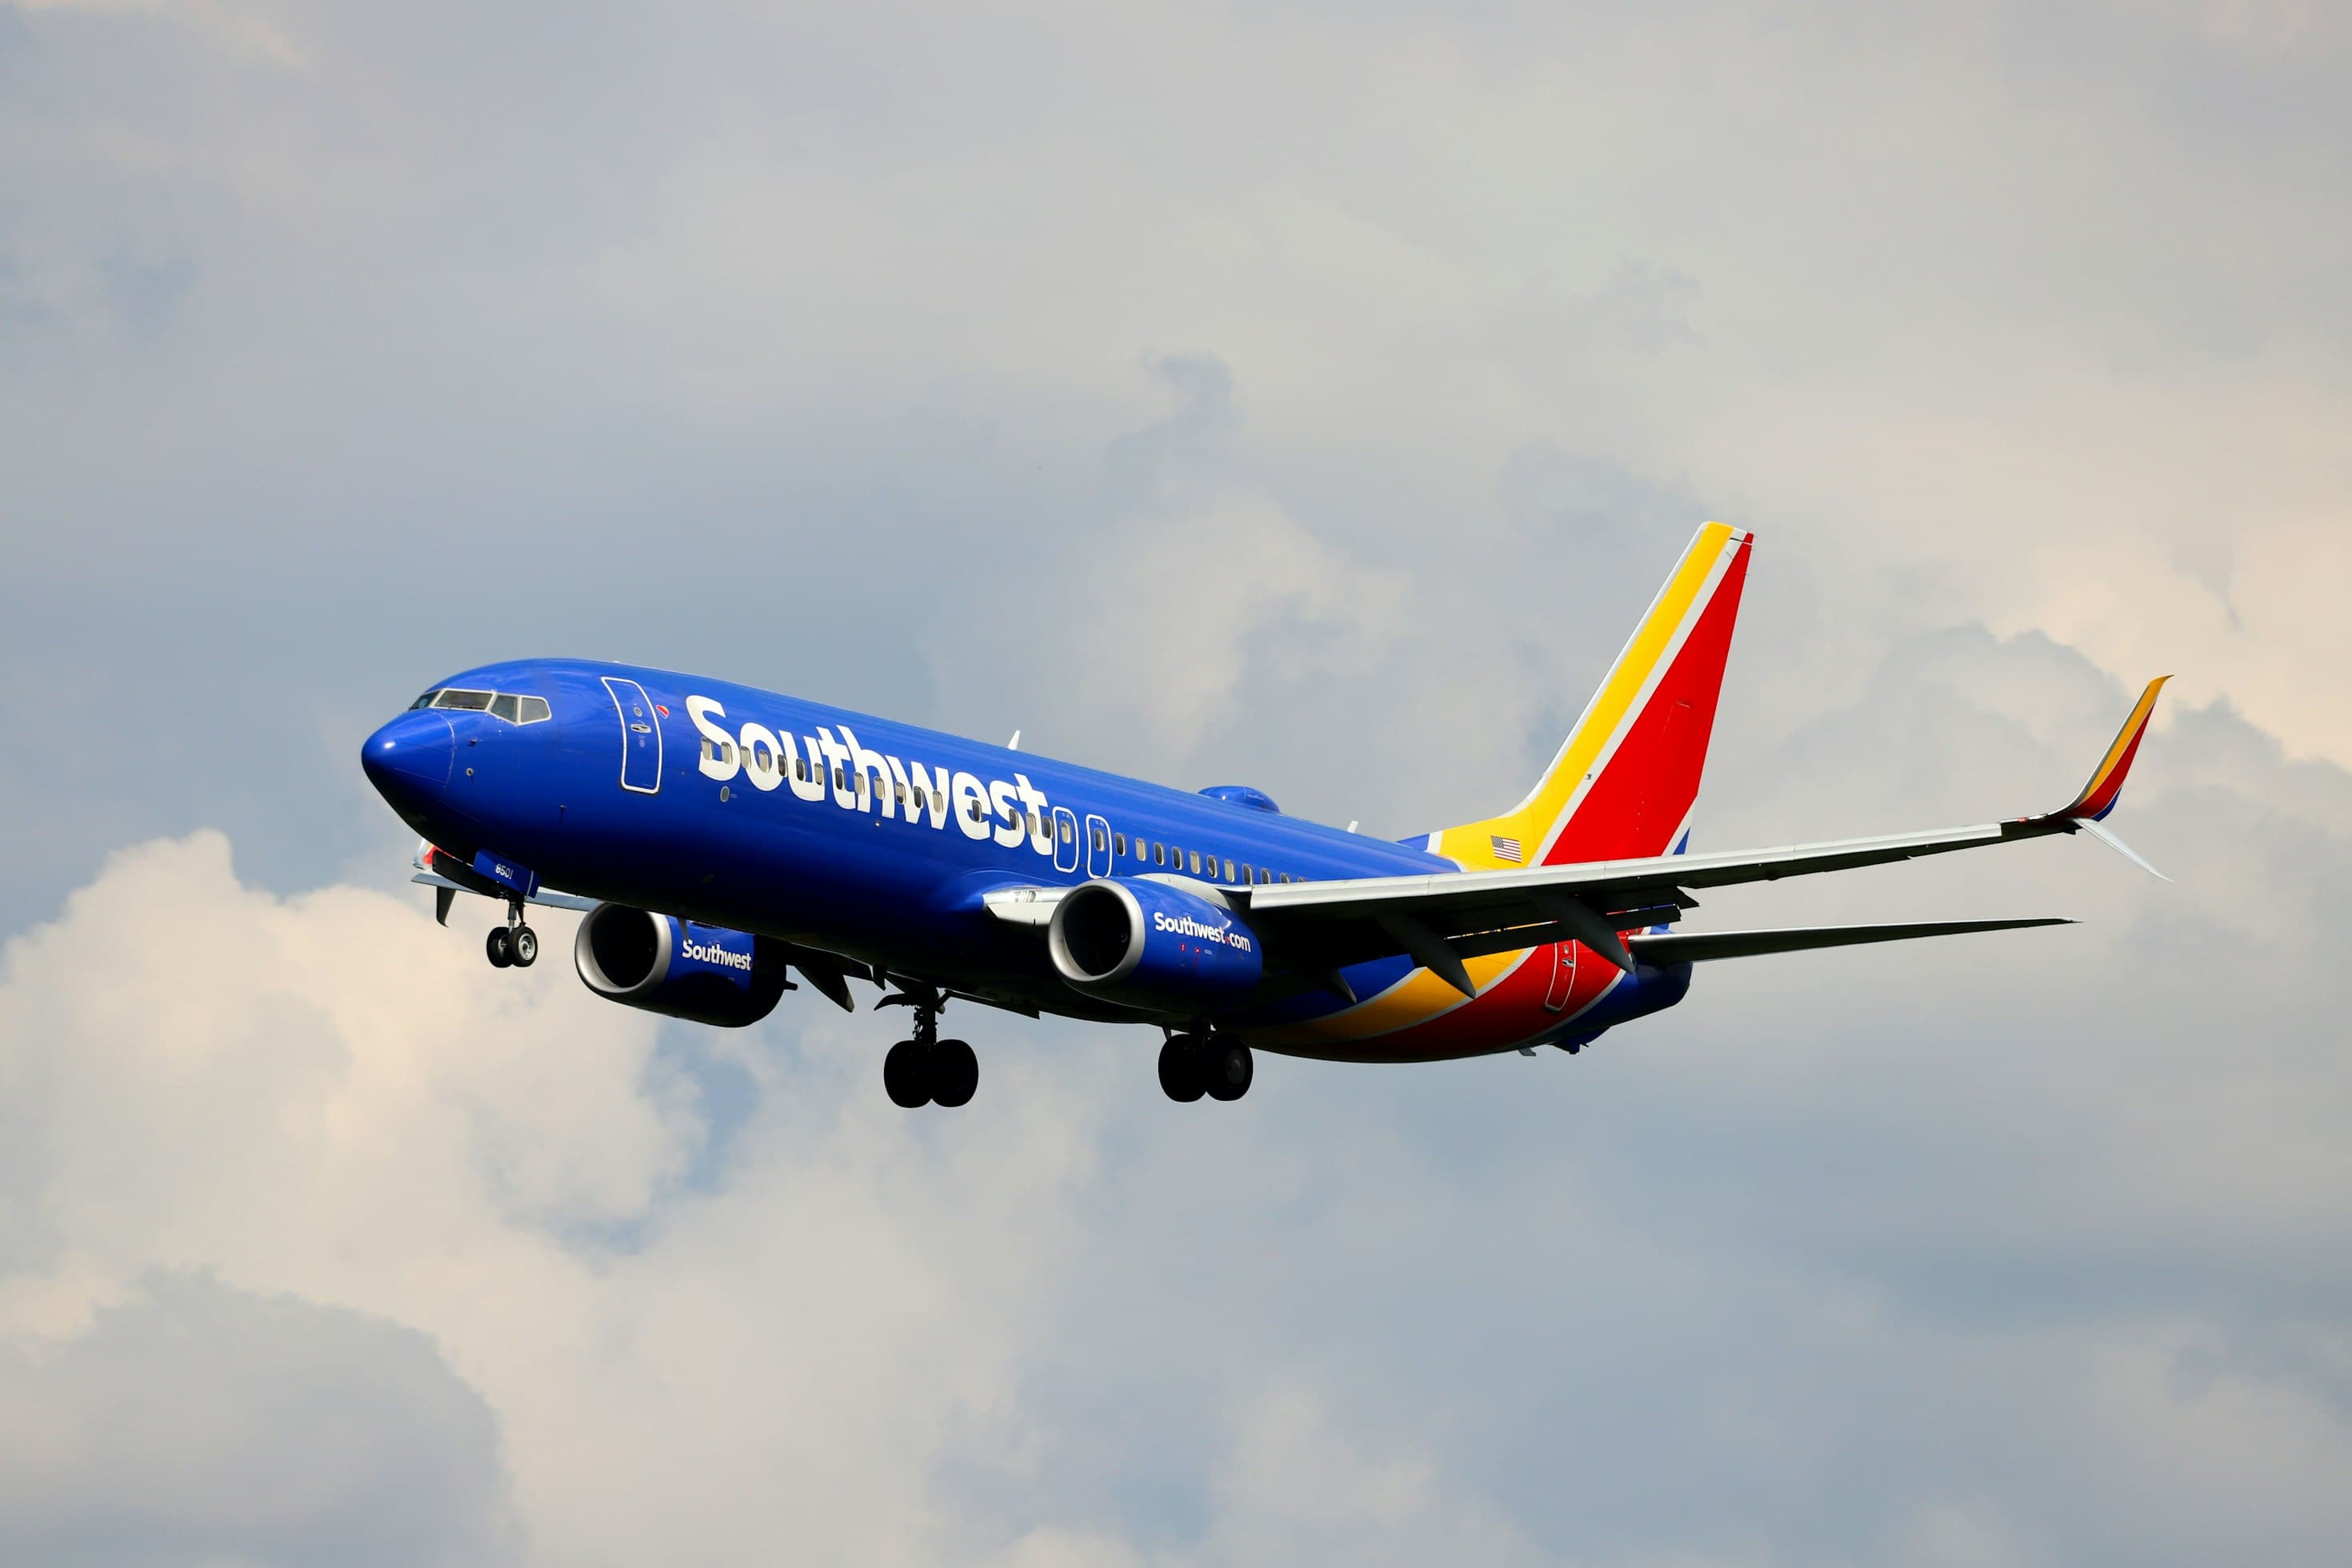
You loaded the PMDG 737-800 cold and dark, and now you are sitting in a dead cockpit with about 300 switches and no obvious first move. Here is the whole thing in one line: battery on, APU started, APU generators on the buses, IRS to NAV, fuel pumps, hydraulics, packs off with APU bleed on, FMC programmed, engine 2 then engine 1, then put the bleeds and packs back.
That order is not arbitrary and it is not Boeing being fussy. Four dependencies force it, and once you understand them you will never need a list again. If you want the exhaustive switch-by-switch version to follow along with while you fly, our interactive PMDG 737 cold and dark startup checklist for MSFS 2024 covers all 15 phases from planning to shutdown, with the exact switch names and expected values. This post explains the reasoning behind the first five of those phases, and the parts nobody tells you.
How to start the PMDG 737 in MSFS 2024: the 60-second version
- Battery ON (guard up). Nothing else in the aeroplane matters until this happens, including ground power.
- Standby power AUTO.
- APU switch to START, then release to ON. It is momentary. Give it up to two minutes.
- APU generators on both buses, once the APU GEN OFF BUS lights illuminate.
- IRS both selectors to NAV. Do this early. It is the long pole.
- Fuel pumps on, AFT before FORWARD.
- Yaw damper ON, then hydraulics to normal.
- Packs OFF, APU bleed ON.
- FMC preflight: IDENT, POS INIT, RTE, DEP/ARR, PERF INIT, N1 LIMIT, TAKEOFF REF.
- Start engine 2, then engine 1. Start lever to IDLE at 25% N2.
- Restore the aeroplane: engine bleeds on, packs to AUTO, APU off.
The four dependencies underneath that sequence:
Power comes first because every switch below it is electrically actuated. IRS goes early because alignment is the only step that runs on its own clock. Packs go off because APU bleed cannot feed the packs and the starter at the same time. Hydraulic engine-driven pumps do nothing until the engines are physically turning, so the electric pumps carry the aeroplane on the ground.
Everything else is detail.
Before you start: getting a truly cold and dark 737
This is the step that traps people before they touch a single switch: the PMDG 737 may not actually be cold and dark when you asked for cold and dark.
Setting the startup state in the CDU
The panel state the aircraft loads with is a PMDG setting, not an MSFS one. The sim's own "Cold and Dark" selection in the world map is not the whole story - PMDG keeps its own startup state, and that is the one that wins.
At the time of writing, the option lives under the CDU's MENU key: press and hold it for 2-3 seconds to reach the PMDG menus, then PMDG SETUP and STARTUP STATE. Select the state you want and press EXEC. PMDG's UI has moved across versions, so if the path has shifted slightly on your build, look for the same two names rather than the exact key sequence.
Two things about this that cause most of the confusion:
- It applies to the next load, not this one. Selecting a startup state does nothing to the aeroplane in front of you. You have to reload the flight for it to take. People select it, see no change, and assume it is broken.
- The menus work with the aircraft unpowered. Holding MENU for 2-3 seconds gets you into the PMDG option menus even on a dead panel. The actual FMC functions stay unavailable (no power, no FMC), but the option menus respond. If you want to load a state immediately instead, that is PANEL STATE LOAD, select, EXEC.
Why PMDG's default cold and dark isn't quite cold and dark
The default C&D state is odd enough that the community ships replacement panel-state files specifically to fix it. That should tell you something. If your "cold" aircraft arrives with switches already flipped, you are not going mad.
If you roll your own state and it comes back not-quite-dark, the PMDG forums settled on two edits to the saved PanelState.sav, and it is worth knowing they fix two different things:
MenuVirtualPower=1to0stops the CDU screen loading up lit. Virtual power is what the MENU hold gave the CDU while you were saving, and the save faithfully records it. It lives under[CDU.0]for the left CDU and[CDU.1]for the right, so do both.Battery Switch=1to0is the separate edit, for the separate problem of a state that reloads with the battery on.
Conflating the two is common and wastes an evening: the virtual-power flag is a display artefact, not the battery. The files live under:
C:\Users\
This is a version-specific, forum-sourced fix rather than a documented feature, so treat it as a pointer rather than gospel. If you would rather not edit files, the ready-made "true cold and dark" panel states on flightsim.to exist for exactly this reason.
GPU or APU? (and why the battery has to be ON first either way)
Either works. The APU is self-contained and gives you bleed air for the engine start as well as electrical power, which is why most sim pilots default to it. Ground power saves APU fuel and is what most airlines actually do at the gate, but you will still need a bleed source for the start.
The part that catches everyone, regardless of which you choose: the battery must be ON before ground power can be connected. The battery drives the solenoid that latches the ground power connection, so a truly dead aeroplane has no way to close the contactor and accept a GPU. If you are clicking Connect and nothing happens, that is why.
If you use GSX, manage the GPU and chocks through the PMDG ground menu or EFB rather than firing sim commands at it. There is also an ordering trap on the way out: disconnect the GPU first and wait for the "Reconnect" prompt before removing chocks, or your electrical power drops out from under you.
Phase 1: preflight planning
Our checklist front-loads eight planning items before you touch the overhead. Skip them and you will get as far as the CDU's PERF INIT and TAKEOFF REF pages before discovering you do not have the numbers they want.
Weather briefing first: departure, enroute, destination, and alternate. If you are still building fluency reading raw observations, our METAR decoder and TAF decoder will translate them while you learn the format rather than instead of learning it. Then NOTAMs, then the OFP.
Most people generate a flight plan in SimBrief and import it. Our SimBrief preview tool lets you check the OFP before you commit it to the box. Fuel planning is the item worth slowing down on: block fuel is taxi, trip, contingency (typically 5%), alternate, final reserve (30 minutes), plus any extra. The fuel calculator handles the arithmetic. Then weight and balance, SID/STAR review, MEL items, and takeoff performance.
The loadsheet matters more than it looks: it produces the stab trim value you will set later, and getting that wrong bites you at the worst moment. All eight items are in the checklist's Pre-Flight Planning phase.
Phase 2: electrical power up
Five switches. This is the shortest phase and the one that unblocks everything else.
Battery ON, standby power AUTO
Battery switch ON, guard up. Standby power switch to AUTO. The standby power switch is guarded and stays in AUTO essentially forever - it is not a normal shutdown item either.
The APU start is momentary
The APU switch is a momentary switch: rotate it to START and release it to ON. Releasing is not you giving up, it is the procedure. Releasing to ON runs an automatic start sequence, and the switch is spring-loaded back from START by design. Holding it there is a common beginner reflex and it does nothing useful.
The start cycle may take as long as 120 seconds. It is not stuck. Go program something.
APU GEN OFF BUS: the light that means it's working
Here is the indication that sends more people to the forums than any other on this panel. When the APU comes up, the APU GEN OFF BUS lights illuminate - and that is the aeroplane telling you good news. The light means the APU generator is available and may be used to supply the transfer busses. It is an availability annunciation, not a fault.
Put the APU generator bus switches ON and the lights extinguish, because now the generators are actually on the buses. The failure case is the inverse of what you would guess: if the light fails to illuminate by the end of the start cycle, a system failure has occurred and FAULT illuminates instead.
One real-world habit worth keeping: run the APU for a full minute before using it as a bleed air source. It lets the APU stabilise and, on the real aeroplane, extends its service life.
IRS to NAV first, because it is the long pole
Both IRS selectors to NAV, and do it now rather than later. Alignment is the only part of this entire procedure that runs on a clock you cannot hurry. Every other item takes as long as it takes you to click it. Plan on roughly 10 minutes and get on with the rest of the setup while it runs.
On the real aeroplane, alignment time is latitude-dependent: about 5 minutes near the equator, stretching to around 17 minutes at 78 degrees 15 minutes north or south. The nearer the pole, the smaller the Earth-rotation signal the platform is trying to resolve, so the longer it listens.
The one hard rule: do not move the aircraft during alignment. More on how that bites in the sim below.
Phase 3: before start
Thirteen items, and the phase where the interesting reasoning lives.
Fuel pumps: AFT before FORWARD, and the centre tank rule
Main tank pumps on: AFT pumps first, then FORWARD. Left and right, both pairs.
The centre tank has a rule attached, and it is a limitation rather than a preference: the centre tank pump switches must not be ON unless centre tank quantity exceeds 1,000 lb (453 kg), except when defuelling or transferring fuel. The centre tank pumps sit in a dry-ish sump and are not designed to run without fuel over them.
Which produces the second scary-but-normal indication of the startup: if your centre tank is empty, CTR LOW PRESSURE lights are correct. You have not broken anything. Leave those switches off. If you are running the centre tank down in flight, both CTR LOW PRESSURE lights illuminating is your cue to switch the pumps off.
Yaw damper before hydraulics
The yaw damper switch is on the aft overhead, and it goes ON here, before the hydraulic pumps. This surprises people who file it mentally under "hydraulics" and wait for engine start.
It is not a hydraulic item in the sense that matters: engagement depends on the B FLT CONTROL switch being ON, not on hydraulic pressure. So there is nothing to wait for. Verify the amber YAW DAMPER light is extinguished, and then leave it ON through shutdown - Boeing has no yaw damper item in the Secure procedure.
Hydraulics: why LOW PRESSURE is normal right now
Both electric pumps on, both engine pumps on. And then you get HYD LOW PRESSURE lights, and you start hunting for what you missed.
Nothing. The engine-driven pumps are mechanically driven off the engines. With the engines not turning, they produce exactly zero. That is not a simulation of a failure, that is a shaft that is not rotating. The electric pumps carry both systems on the ground, and the lights extinguish when the engines come up.
While you are here, the detail that separates people who know this aeroplane from people who have memorised its checklist. Systems A and B each have one engine-driven pump and one electric pump (standby has electric only), normal pressure 3,000 psi. The switches are deliberately crossed:
- ENG 1 switch = system A engine-driven pump
- ELEC 2 switch = system A electric pump
- ENG 2 switch = system B engine-driven pump
- ELEC 1 switch = system B electric pump
The naming is not a mistake. System A's electric pump is labelled ELEC 2 because it is powered from AC transfer bus 2, which is fed by the number 2 engine's generator - while system A's engine-driven pump hangs off the number 1 engine. Each hydraulic system therefore draws its two pumps from opposite sides of the aeroplane. Lose an engine or a generator, and no single hydraulic system loses both of its pumps. The cross-wiring is the redundancy. (The electric pump is no substitute for the EDP on output, mind: about 6 gpm against the engine-driven pump's 37, at the same 3,000 psi. Same pressure, a sixth of the flow, so everything hydraulic just moves slower.)
Packs OFF, APU bleed ON: the bleed budget
Pack switches OFF. APU bleed ON. Engine bleeds OFF.
This is the dependency that causes the most "my engine won't start" posts. The APU's bleed air supply is finite, and it cannot run two air conditioning packs and spin a starter at the same time. Turning the packs off is not a comfort compromise, it is you giving the starter the entire bleed budget. Leave the packs on and you get slow motoring, or no useful N2 at all, and then a hot start when you get impatient.
They come back to AUTO in Before Taxi. It is on the checklist so you cannot forget.
FMC preflight in order
The CDU pages have a running order, and it exists because each page consumes what the previous one produced:
IDENT (verify the nav database cycle) then POS INIT then RTE then DEP/ARR then PERF INIT then N1 LIMIT then TAKEOFF REF.
TAKEOFF REF is the one to respect. It supplies your stab trim value, and if you do not physically set it on the trim wheel, you get a takeoff configuration warning the moment you advance the thrust levers. That is a horn going off on the runway, which is a bad place to discover a paperwork step.
Then MCP set, transponder set, parking brake set, and beacon ON - the beacon is your signal to the ground crew that engines are about to turn. The full Before Start phase has every item with its expected value.
Phase 4: the PMDG 737-800 engine start
Engine 2 first, and the reason that doesn't survive scrutiny
Engine start selector to GND. Right engine first is the standard convention, and it is what our checklist calls for. But the explanation usually bolted onto it does not survive the dependency model above, so here is the honest version.
You will read that engine 2 goes first because it drives hydraulic system B, which powers the normal brakes. Both halves of that are true: system B does drive the normal brakes, and engine 2 does drive system B's engine-driven pump. The conclusion still does not follow. The electric pumps have been pressurising both systems since you set the hydraulic panel, running off the APU or ground power, so system B is already up at 3,000 psi before either engine turns. Starting engine 2 first does not hand you brakes you did not already have.
What is actually left is convention, which is reason enough: nothing melts if you reverse it, but every airline crew you have watched does it this way, and the checklist order assumes it. That is a better answer than a rationale that falls over the moment you ask what the electric pumps were doing.
The 25% N2 gate
Watch N2 climb. Confirm N1 rotation as well, which proves the engine is actually turning rather than just showing you a number.
At 25% N2, start lever CUTOFF to IDLE. Not before. That gate is the entire defence against a hot start: you need enough airflow through the engine to carry the heat of combustion away before you introduce fuel. Fuel into a slow-turning engine has nowhere to dump its heat, and EGT goes vertical.
There is an exception with its own definition. If 25% N2 is simply not attainable, you may use maximum motoring with a minimum of 20% N2, where max motoring means N2 accelerating less than 1% in about 5 seconds. It has stopped climbing, in other words. That is a real procedure, not a licence to jump the gun at 21% because you are bored.
What to watch: EGT, oil pressure, and the 10-second rule
Once the start lever is at IDLE, you are monitoring three things:
- EGT rise within 10 seconds. No EGT within 10 seconds of the start lever coming up means no light-off. Abort.
- EGT approaching or exceeding 725C. Abort. That is a hot start, and the reason the 25% gate exists.
- Oil pressure. No oil pressure within 60 seconds, shut it down.
Stabilised idle on a standard day at sea level is roughly 59% N2 and about 410C EGT, though idle EGT wanders anywhere from 320C to 520C depending on outside air temperature and bleed configuration. If you see a number in that band, you are fine.
Starter cutout at 56% N2
At approximately 56% N2 the start switch releases itself. You do not have to do anything. Your job is to verify it happened and only move it to OFF manually if it did not.
(If you have flown the classics: cutout is 46% N2 on the 737-3/4/500. The NG's higher figure is one of those numbers that quietly bites people moving between types.)
Then repeat the whole thing for engine 1.
Phase 5: after start, and restoring the aeroplane
The start left the aeroplane in an abnormal configuration, and this phase puts it back. APU bleed OFF. Engine bleeds ON both. Pack switches to AUTO. The engines are now the source for everything the APU was covering.
Verify the generators: GEN OFF BUS lights should be out. Then APU OFF. Check hydraulic pressure - and this time all systems should be green, because those engine-driven pumps are finally turning and the LOW PRESSURE lights you have been ignoring for ten minutes should be gone. If they are not, now it is a real problem.
Probe heat ON, anti-ice as required (engine anti-ice ON if OAT is below 10C with visible moisture), taxi light ON, flaps set for takeoff, and you are ready to release the brakes.
When it goes wrong
Dead panel: nothing responds at all
The battery is off, or your panel state loaded with more or less power than you think. Battery ON first. Remember ground power cannot connect to an unpowered aircraft.
IRS won't align, error code 03
Error code 03 means excessive movement during alignment. The aeroplane moved. In the sim, two culprits do this to a parked aircraft: FSRealistic's ambient wind shaking the airframe, and GSX repositioning the aircraft under you. Fix: align before requesting GSX services, or reposition to the GSX stored position first and then align. Do not fight it, sequence around it.
IRS stuck in ATT
Switch the IRS OFF, wait for the ALIGN light to go out (about 30 seconds), then back to NAV. It needs to see the mode actually drop before it will accept a fresh alignment.
Hot start: EGT climbing fast
You introduced fuel below 25% N2, or the packs were on and stealing your bleed air so the starter never got the engine turning fast enough. Start lever to CUTOFF, motor the engine to cool it, and check that your packs are off before you try again.
APU won't start
Give it the full 120 seconds before deciding. Battery must be on. If the APU GEN OFF BUS light never illuminates by the end of the start cycle and FAULT lights instead, that is a genuine failure rather than an indication you misread.
GPU won't release, or power drops when removing chocks
Order of operations. Disconnect the GPU first, wait for the "Reconnect" prompt, and only then remove chocks. Manage both through the PMDG ground menu or EFB rather than the sim's own commands.
One myth worth killing
Plenty of video guides tell you to switch the battery OFF at shutdown. It is not a Secure checklist item. Battery OFF belongs to the separate Electrical Power Down supplementary procedure, which assumes Secure is already complete. For a normal turnaround, leave the battery ON. If you are doing a full power down, wait about 2 minutes after the APU GEN OFF BUS light extinguishes first.
What's next
The four dependencies are the whole trick: power before anything, IRS early because it runs on its own clock, packs off because bleed air is a budget, and engine-driven pumps that cannot make pressure until something turns them. Internalise those and the switch order stops being a list to memorise and becomes the only order that would work.
For the rest of the flight, the PMDG 737-800 checklist runs all 15 phases through takeoff, climb, cruise, descent, approach, landing, and shutdown, with the warnings and cautions attached to the steps where they matter.
If you are weighing up the alternatives, we cover the iFly 737-800 as well, plus the 737 MAX in both Asobo and iFly flavours. The procedures rhyme, but the panel states and CDU implementations differ enough that the checklist is worth having open either way.